
We get a lot of people asking us about our in-house prototyping and manufacturing processes. We love sharing what we've learned in the trenches! Today's topic is how to take a bunch of Amazon parts and make a low cost (< $75) adjustable DIY vacuum pickup tool (with a foot pedal) for doing manual pick and place.
Why is this useful? It helps you prototype boards faster and with less effort! In our tests, we were between 60-90% faster with the vacuum pickup than with tweezers.
Robotics groups, hobbyists, and makers who are making circuitry of any kind should absolutely learn to do surface mount reflow. For around $100 you can have a pretty good setup and crank outboards quickly. If you're still hand soldering, don't be afraid to try it out!
There are a number of guides online but we wanted to write one with links straight to parts we've actually used and tested so that there's no guesswork needed.
A quick review
First of all, if you don't know how to do surface mount, watch this excellent tutorial
Step 1. Design PCB and components.
Step 2. Get PCBs made, get a stencil made, and order components.
Step 3. Stencil solder paste onto your boards
Step 4. Pick and place components from tape or reels onto the boards
Step 5. Reflow on a hot plate or in a toaster oven.
What's wrong with tweezers?
Of the actual stages above, the pick and place usually take the most time.
Tweezers are still awesome and you should always have them around. But when you try and make more boards, more quickly, a bunch of issues slow you down:
- Being unable to pick up parts straight from the tape, have to dump them out first
- Having to flip over and rotate components once dumped out of the tape
- Certain packages being tricky to pick up with tweezers (QFP has legs on all sides)
- Tweezers hitting nearby components when they are close together
- Handshake when opening the tweezers
The hunt for a good vacuum pickup tool
If tweezers aren't quite cutting it, what's better? Pretty much everyone agrees that it is a vacuum pickup tool. It's basically the name for a small handheld pen with a small tip that can pick up parts with suction.
We thought it would be easy to find one. Fire up Amazon, search for vacuum pickup, and get a whole bunch of products with mixed reviews.
You have ultra cheap push button pens which are practically useless (vacuum is poor, tips are poor, having to squeeze the button hard makes handshake even worse!).

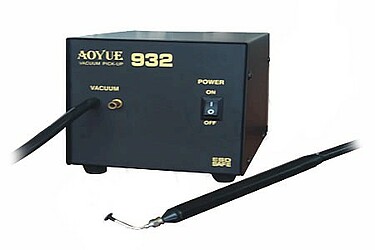
There are larger stations as well, but many of them look like they were designed as an afterthought as part of a soldering station and are missing critical elements: no foot pedal, vacuum strength not adjustable, etc.
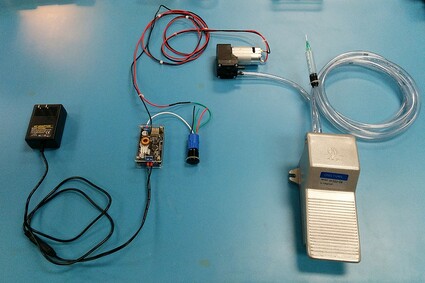
OhmniLabs style! Building it ourselves
We were looking to set up something simple that meets all our needs. Here's what goes into it, complete with Amazon links:
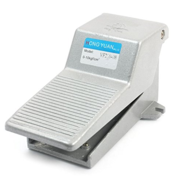
1) Foot pedal, three way
https://www.amazon.com/gp/product/B00OK68M28
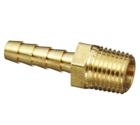
2) Threaded adapters
https://www.amazon.com/gp/product/B002SAO7XQ
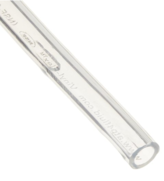
3) Plastic tubing
https://www.amazon.com/gp/product/B00E6BD0G0
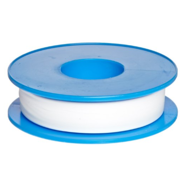
4) PTFE sealant tape
https://www.amazon.com/Dixon-Valve-TTC50-Industrial-Temperature/dp/B00DE8F5I2
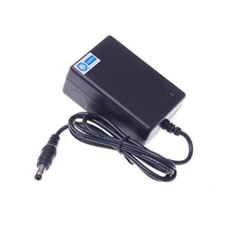
5) A DC adapter, anything 9-15V is probably fine. We use a 15V because we had some left over.
https://www.amazon.com/SMAKN®-100-240V-Switching-Converter-Adapter/dp/B00WLGDZ30/
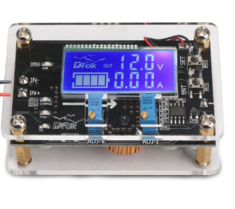
6) A DC-DC buck converter with adjustable voltage and current output. This allows for adjusting the suction strength.
https://www.amazon.com/gp/product/B01FQH4M82/
7) Vacuum pump
https://www.amazon.com/gp/product/B00DYA21PU

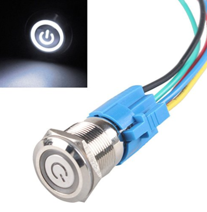
8) Power switch (optional but useful). You can use any ON-OFF toggle switch or button switch, but we like these nice metal ones 🙂
https://www.amazon.com/Support-Symbol-Button-Toggle-Switch/dp/B00ZR7MQBC/
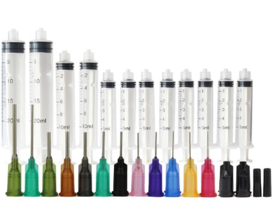
9) Syringe set with a range of tip size (or find alternative tips)
https://www.amazon.com/gp/product/B01ECIVAFE/
10) Miscellaneous tools: wrench, spare 18-24 gauge wire for soldering up motor, heatshrink, etc.
Setting it up: pedal and tubing
Wrap some tape around the brass flanges and put on port B and common. Tighten with a wrench.
Cut a short segment of tubing (about 1 foot), and connect to port X.
Cut a long segment of tubing (4-6 feet depending on how you arrange things), connect to port Y.
Take the end, wrap in electrical tape, insert into the syringe. Put on an appropriately sized tip.
Setting it up: motor and electronics
Cut the barrel off the DC adapter, terminate ends in the buck converter input. Put power switch inline on the positive side.
Turn on the power, dial in the converter to about 4.5V. Turn off.
Solder wires with heat shrink to the motor, terminate the other ends in the buck converter output.
Take the other short tube and run to the motor's input port.
(Optionally) route pump's output port to some tubing to try and quiet it.
Turn on power. Test pedal. Block tip with your finger, and hear the pump click loudly. Dial down the constant current limit to an appropriate level.
Test with some real sized parts. See how different voltages and tip sizes work with different types of parts (0603, 0805, QFPs, SO-8's).
Using it
Tips: turn your hand before picking up so that your hand will be in a natural state when placing the part.
This article was published by OhmniLabs, a member of the Kambria Manufacturing Alliance. Please follow their Blog for more technical content.


