About
Whitepaper
Team
Ecosystem
Kambria DAOs
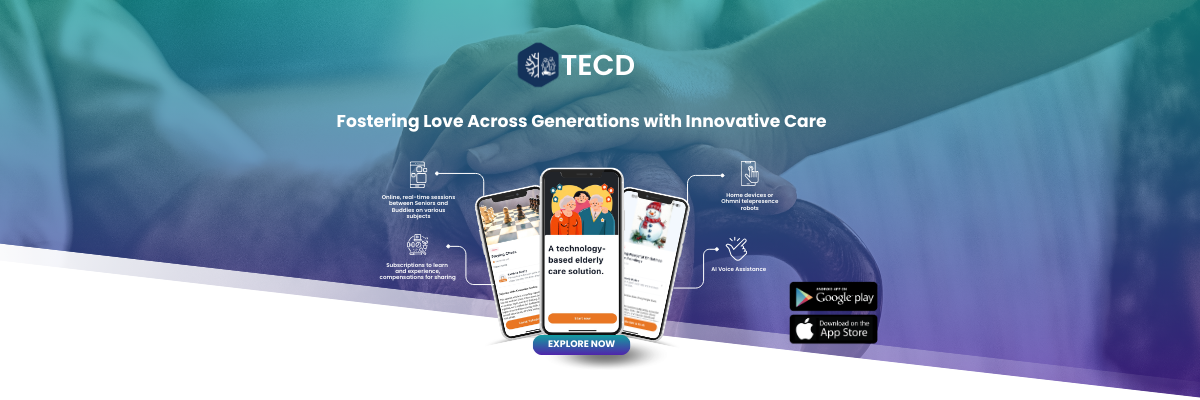
Tech-powered Elderly Care DAO (Model DAO)
Capacity Exchange DAO (Model DAO)
DAO Experimentation Program (DEP)
DEP – Cohort 2
DEP – Cohort 1
Tokenomics
Open Innovation Network
Stars of the Year
Platform
TECD Solution
CED Solution
Docs
Kambria DAOs Docs
KAT Tokenomics Docs
Kambria Open Innovation Network
DAO Experimentation Program – Cohort 2 (DEP 2 Docs) | 2026
CED (Capacity Exchange DAO) – User Guide
TECD (Tech-powered Elderly Care DAO) – User Guide
Select Page